A first year quilt....thing's you'll need
Thread
Baby clothes
Fabric (which ever you want to use) I chose Minky and flannel
A sewing machine
A shit load of pins
Stabilizer
Iron
Badding
PATIENCE!
A understanding husband
Perfect kids that behave while you sew
.....Okay some of those are a long shot but we all can dream

Now I topped stitched all mine to give it a extra funky look but you can seam them together from the back side as well...at this point because of the type of fabric these clothes are mostly made of you want to iron on a Stabilizer so they don't shift on you so go do that now..lol....next pin and sew...pin and sew...pin and sew...now that your done with that ...which trust when I say it takes a good amount of time doing this...that's why when you have them made there not cheap....like I said a understanding husband and perfect children! lol...ok so now we have it all sewn together next you want to lay down your backing and place your badding on top...then lay down the clothes that are sewn ...what I do is Pin around the edge and trim off excess of the clothes to meet with the backing and safety pin the whole quilt in about 30 places to make sure nothing slips or moves...next after all your excess is trimmed you need to make your bias (trim for edge of blanket) now you can buy some pre made but I like to save money and make my own...here's a pin for that..now I didn't use this pin because I already know how but here ya go it just chalks it up to one more pin for me lol http://pinterest.com/pin/148126275214976694/ Okay now you've made your Bias time to put it on and start pinning again! okay Poof that's done! Your Quick man! Okay now time to sew!!!!! I choose a cute flowery stitch! Okay wow your done with that already ...flippin sweet! so it should look something like this!

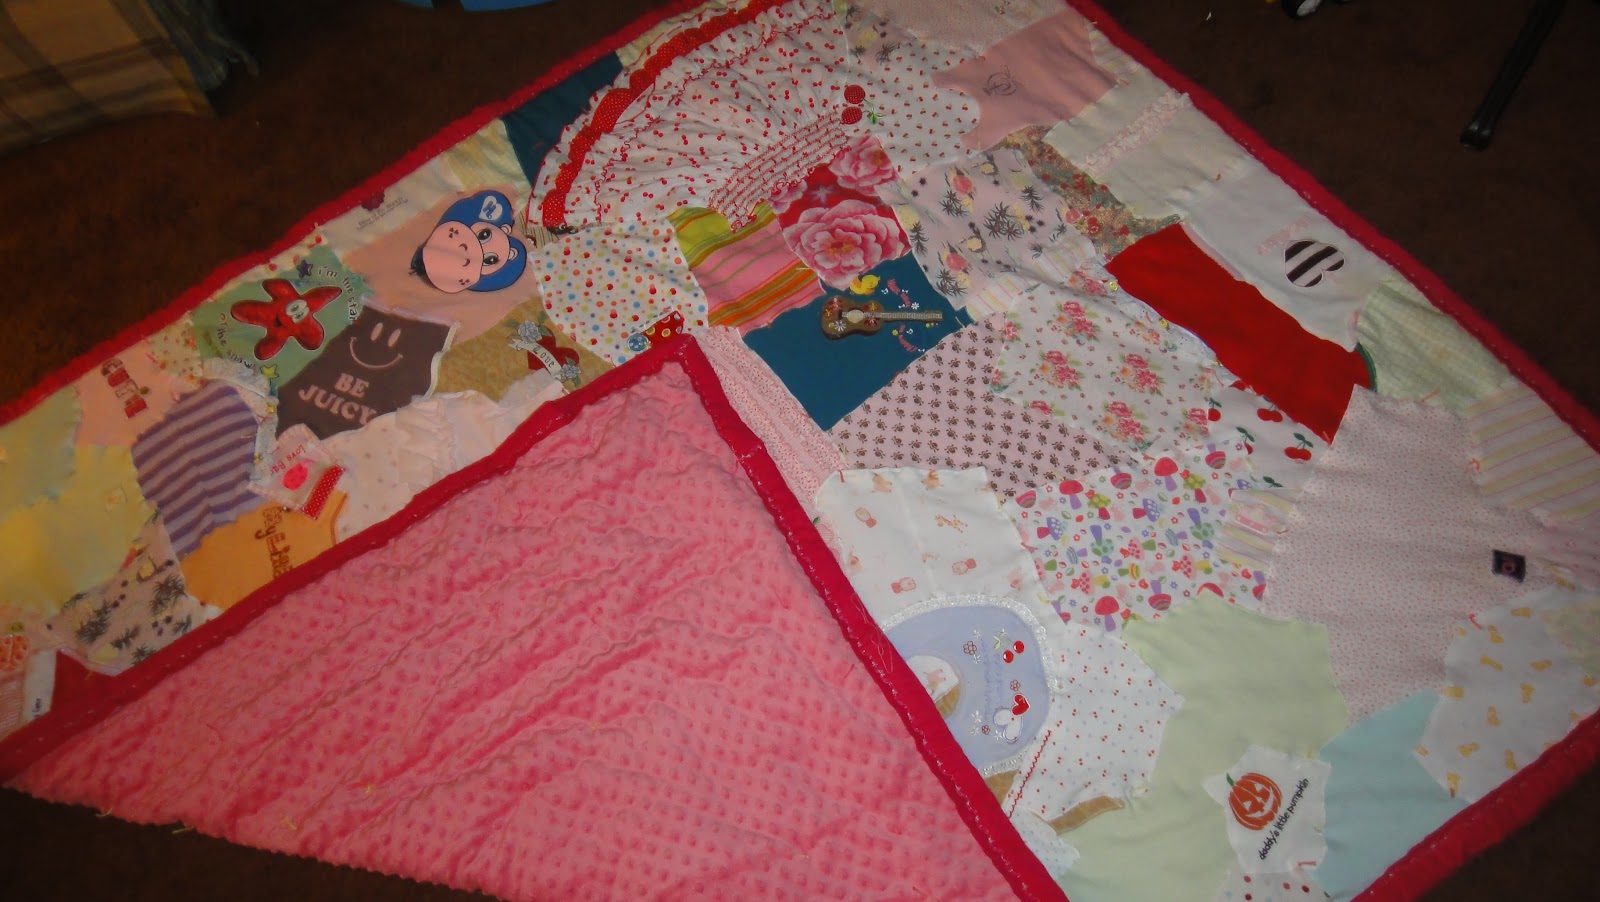
 <---Cute flowery stitch!!
Okay so like I said this took a bit to do...I have a few other pins ready to blog I just have to find the time to publish them But I'm right on top of that Rose! (Don't tell mom the babysitters dead quote..you know you love it!!) Okay Gals and Guy (probably my husband) stay tuned!
No comments:
Post a Comment